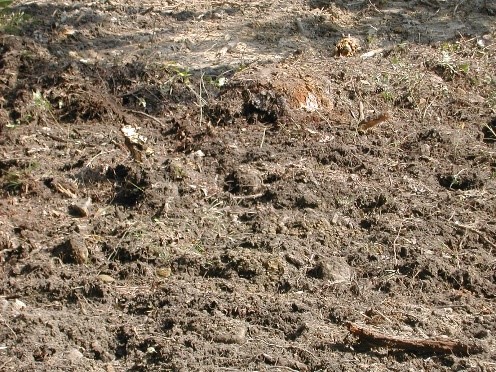
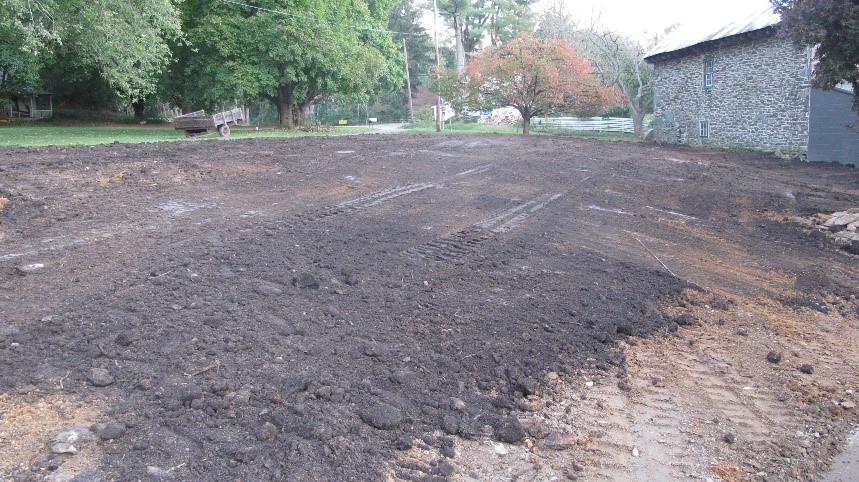
Step 1: SEO to perform soil moisture test. Once dry enough, establish area and scarify (on contour) to a depth of 6-8″.

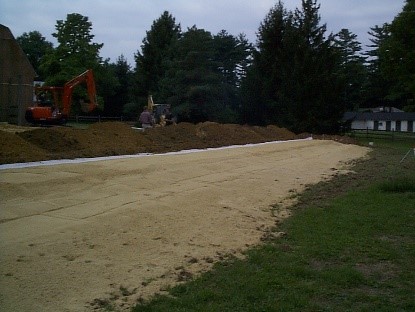
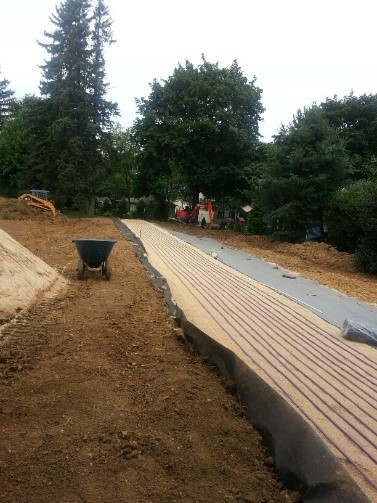
Step 2: On contour sand placement. See design for depth of sand.


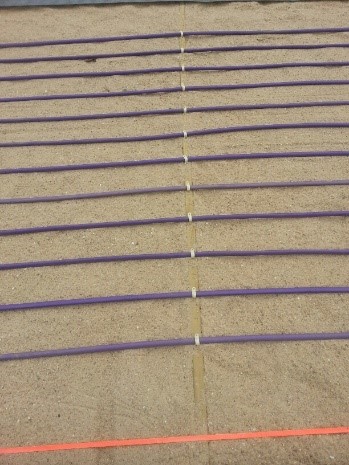
Step 3: Tubing placement. 6”-9” on center. Refer to your design for length and spacing specifications.
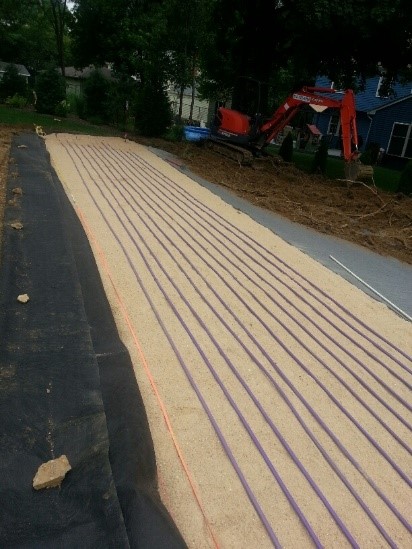
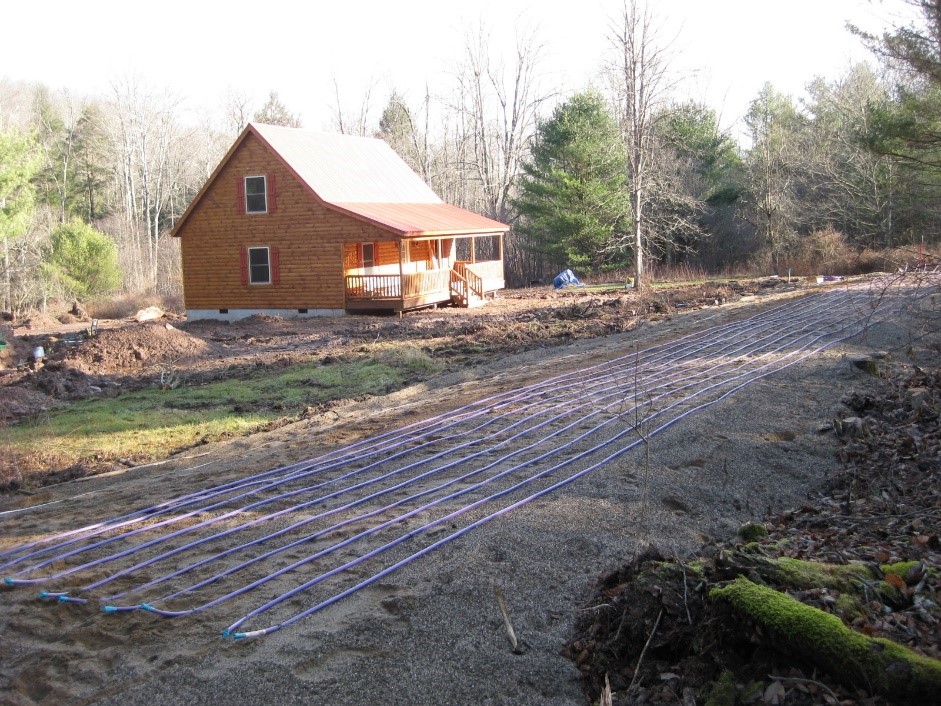
Step 4: Secure tubing in place with landscaping staples or pvc straps.
Step 5: Construct top feed (over 5% slope) or side feed manifolds (less than 5% slope).
-
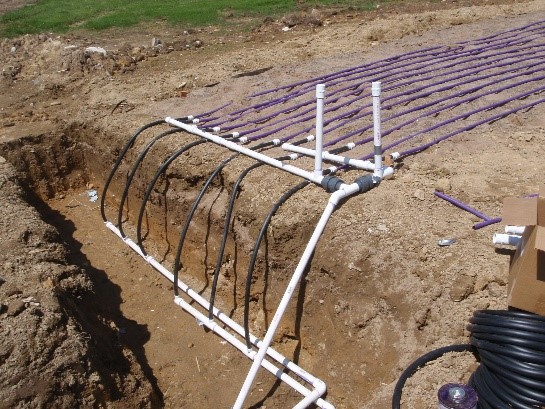
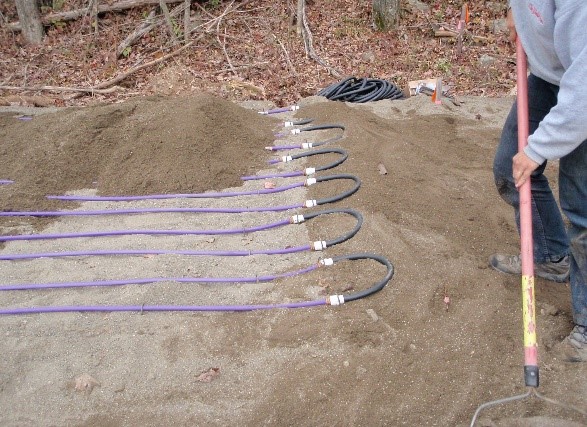
- Side Feed Manifolds
-
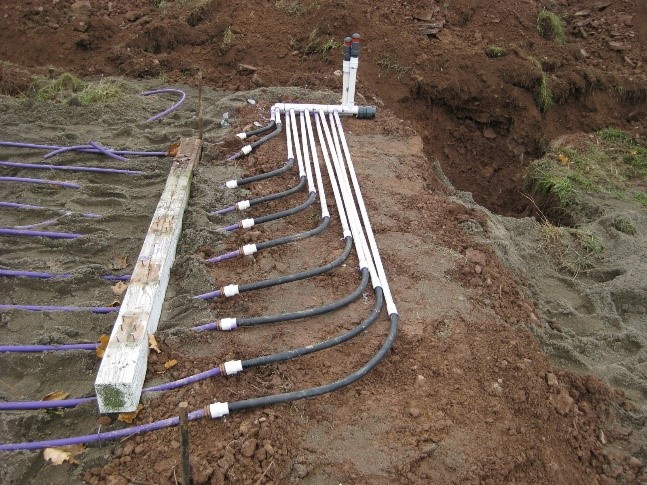
- Top Feed Manifold
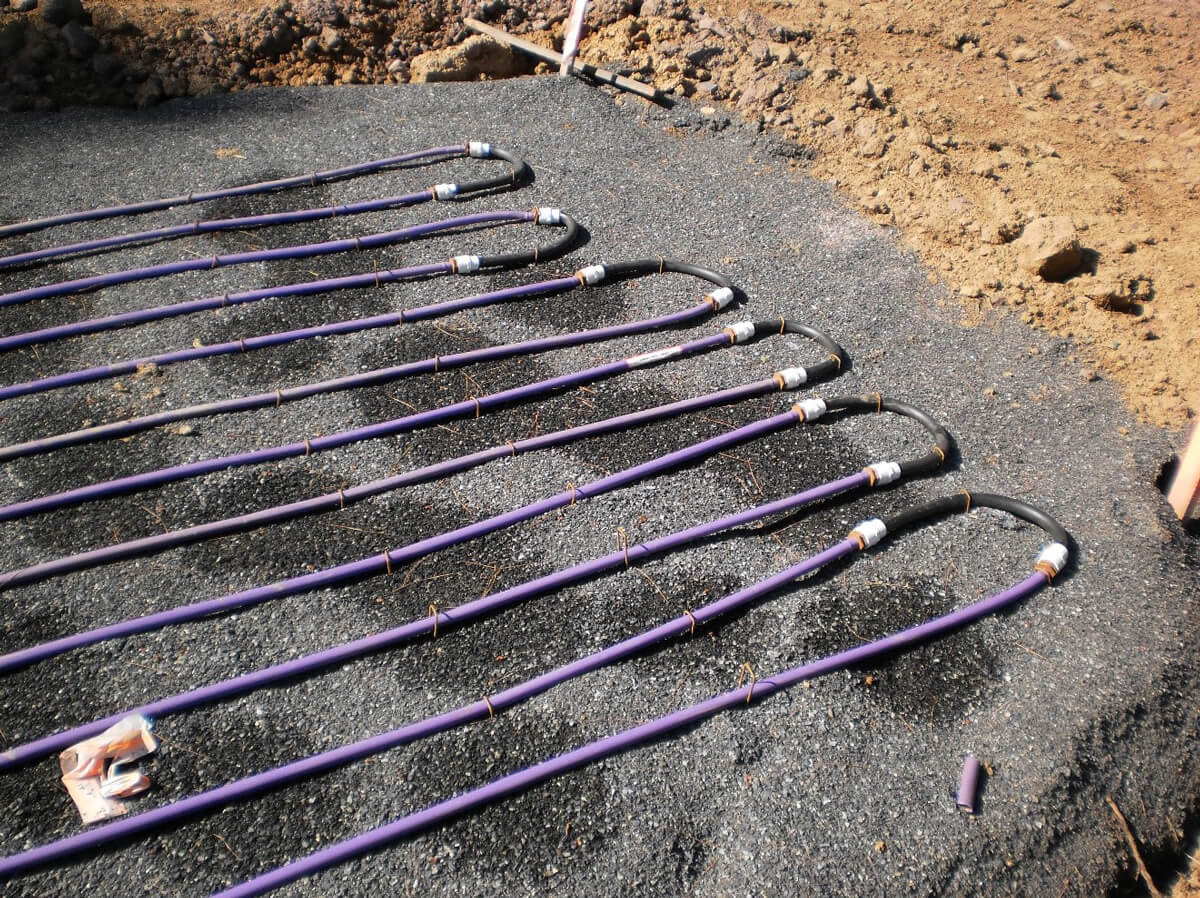
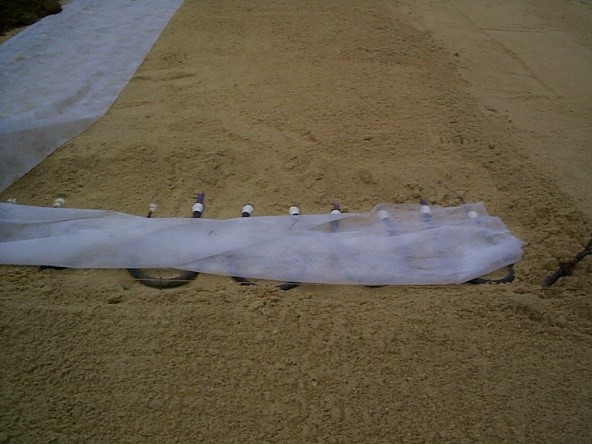
Step 6: Construct loop ends and elevate with sand, bricks, or lumber.
-
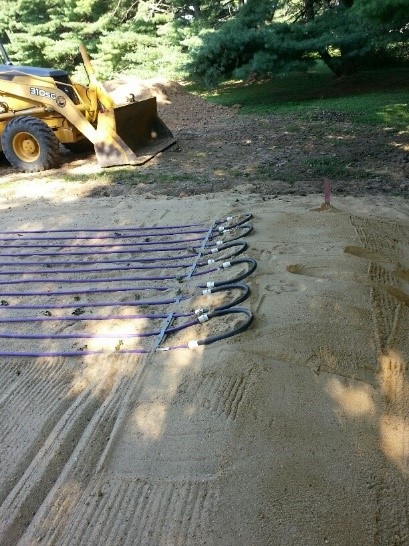
- Loop End (1/2” black flex) to elevate
Step 7: Place 2” of sand on top of all tubing.
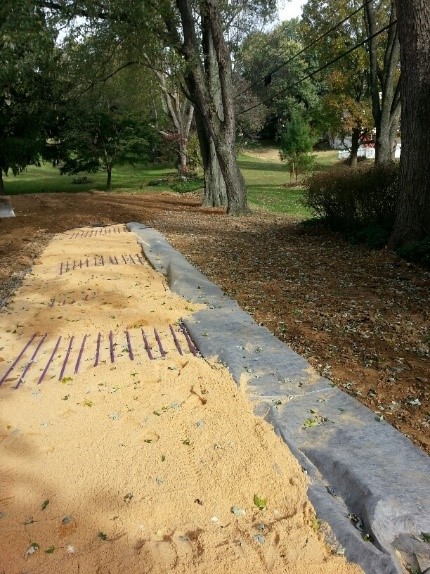
Step 8: Place geo-textile material over all sand areas.
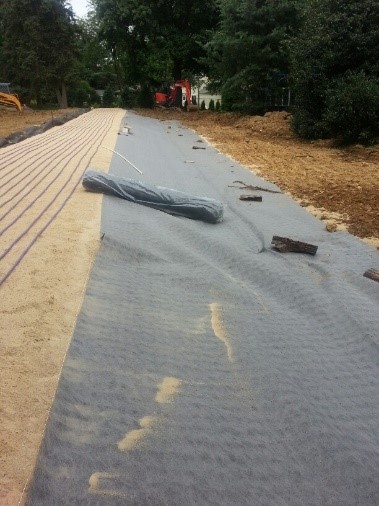
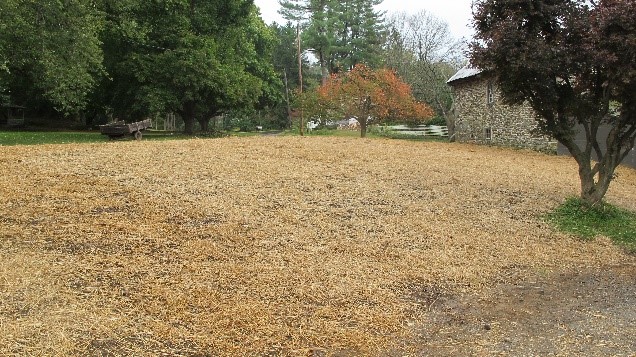
Step 9: Place 12” of top soil on top of the geo-textile. Seed and straw area upon completion.
-
- System start-up with SEO and Manu. Rep. must occur prior to this step.
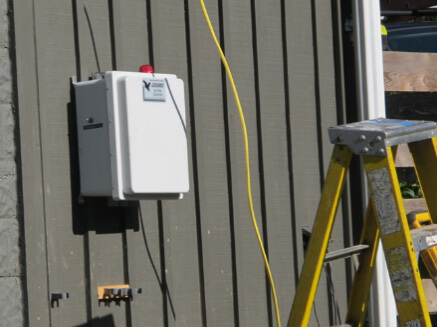
Step 10: Complete the installation of all other system components including the Hydraulic Unit, Control Panel, and Pump Tank material.
-

- Hydraulic Unit
-
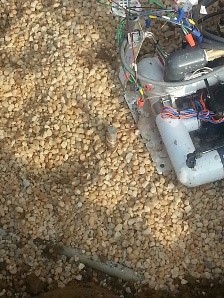
- Ground the Hydraulic Unit locally!
-
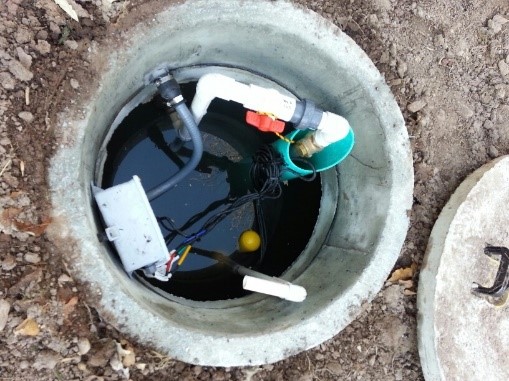
- Pump Tank
Step 11: Provide adequate straw cover for added winter protection especially for late fall installations.